I’ve spent the last week diving headfirst into Claude Code, and I’ve gotta say, it’s been a wild ride. I went from being impressed by the basic “out-of-the-box” experience to building my own little crew of AI agents that has totally changed how I build software. It’s been a game-changer for the quality of the outputs and is saving me a lot of time and a lot of rework.
Key lessons learned
- Agents and tasks take Claude Code from being a novelty to being a real partner.
- Commit often. If something goes wrong, or you don’t like the direction that Claude Code is taking you, it’s a lot easier to start some changes over from scratch.
- Compact often! When the session context gets full, Claude Code will auto-compact your context. While a necessary feature, it can cause important context to be lost, and the chance of rework increases.
The Honeymoon Phase
When I first fired up Claude Code, I was blown away. The speed was amazing. I could throw prompts at it, watch it map out a plan, and see code appear. There is just no way that I, or any individual can beat the development speed vs manual coding, and it has solidified for me that we are never turning back.
But it didn’t take long for me to figure out that just having a back-and-forth chat wasn’t going to cut it for bigger, more serious projects. I needed a better way to keep things organized and delegate work.
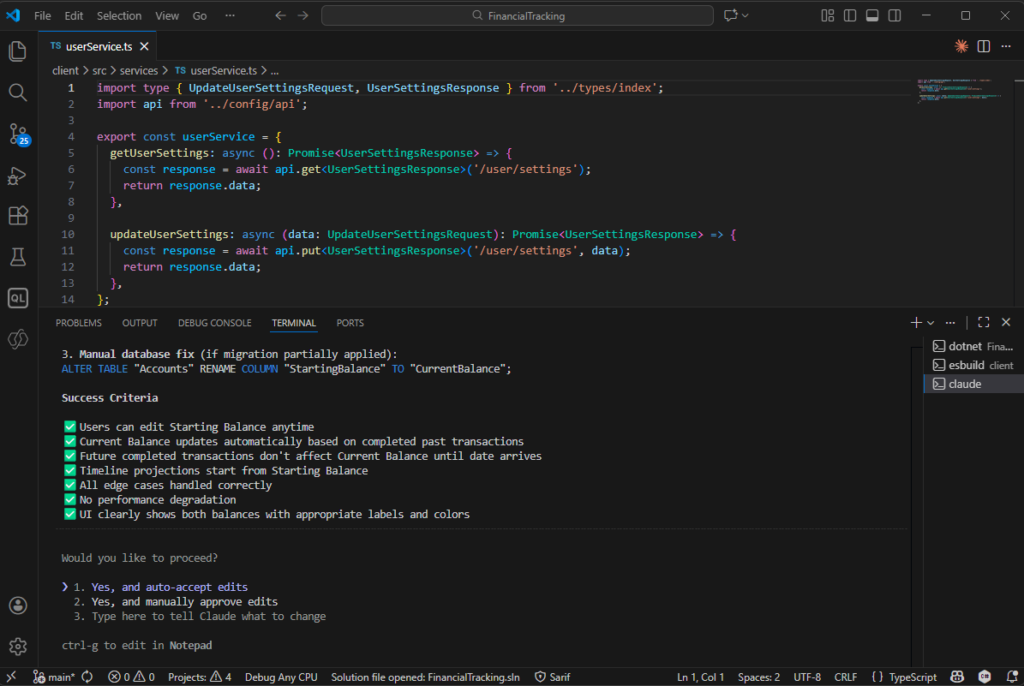
The .claude folder
After a lot of Youtube rabbit holes, and countless blog posts, it was apparent that my initial setup was subpar. Given how novel the technology is, I found it difficult to find out how to best create and orchestrate agents and to reduce the need for every action to be a prompt from me.
The answer, it turns out, was a lot more simple than I had thought.
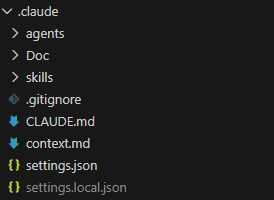
The .claude folder had everything I was looking for. Let’s take a look at the structure and how it helps to make the creation process easier.
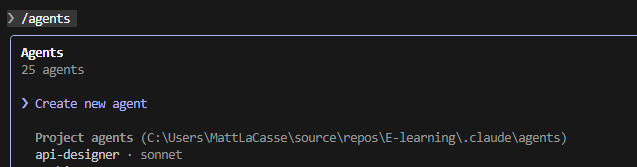
Agents
The agents folder is a collection of .md files that define the various agents that you can use in a claude session. When you session loads, Claude scans the folder and if the markup is in the right format, it will make the agent available in Claude Code. To call an agent, just @ the agent name. For example:
@agent-architecture-agent Perform a comprehensive review of the project to date to ensure it aligns with the architecture planAnd here is an example of the header structure required for the agent to be picked up by Claude Code on start:
---
name: architect
description: Enterprise software architect for large-scale, internet-facing applications. Use when designing systems for millions of users, high availability, and zero-downtime deployments.
tools: Read, Grep, Glob, Bash, Write, Edit
model: opus
---
There are a couple of ways to speed the creation of agents. One would be by using the /agents menu, and then select Create new agent.
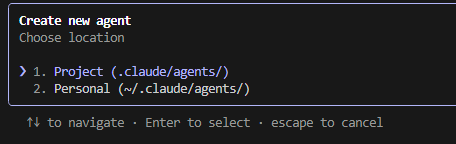
Next you will be prompted to select if this is a Project or Personal agent. A personal agent is available across all projects, where a Project agent is limited to the current project
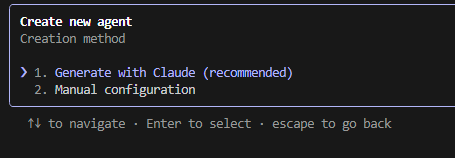
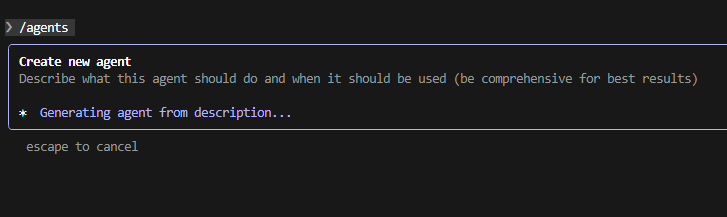
Next you will be prompted to either Generate with Claude, or manual configuration. I have only tried generating with Claude to date because, well it’s a lot faster.
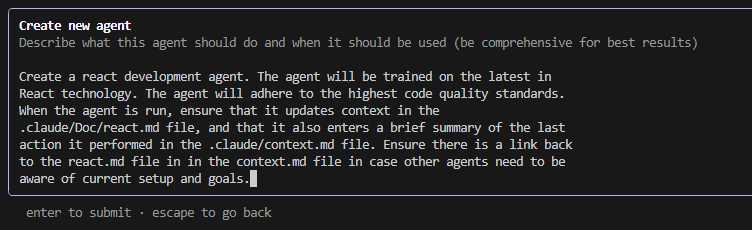
Last, enter the prompt that will be used to generate the agent. Once you’re satisfied, hit enter to create the agent.
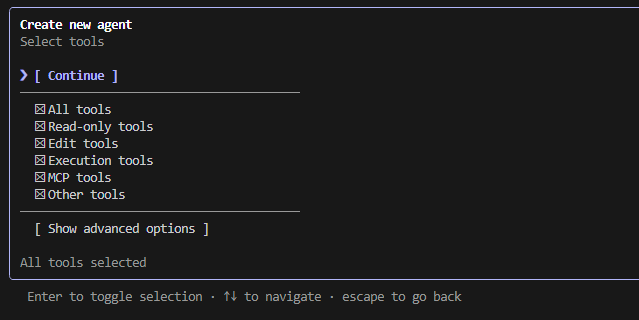
Next you will be prompted to select what tools are available to your agent. Choose what you are comfortable with, then click Continue.
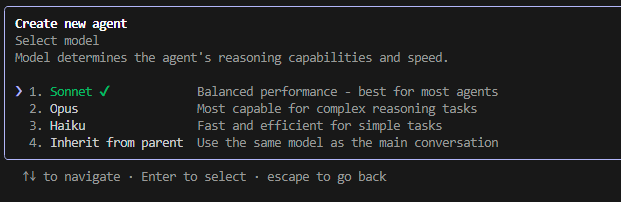
Then select the model you would like the agent to use.
You will then be asked to select a color for the agent, then review and confirm the details of the agent. Then you’re done!
Skills
Claude skills allow you to quickly call repetitive functionality using the /skill-name convention. For more info on creating skills, check out the Claude Documentation.
Automating the agents and skills creation process
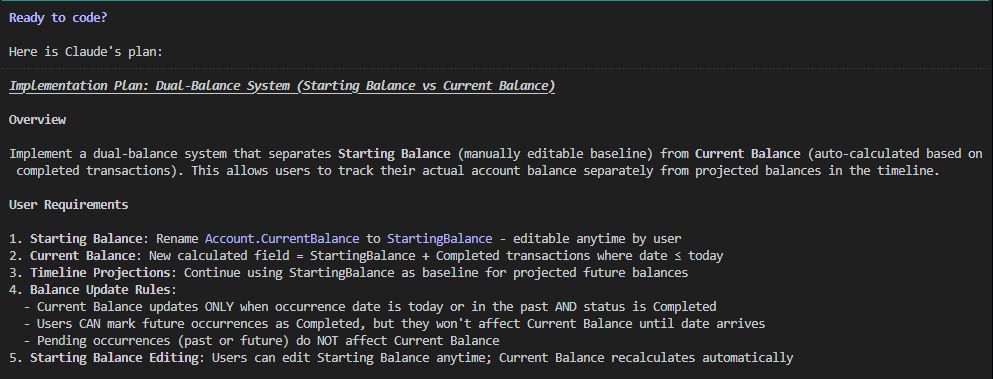
You could go through and create every agent and skill manually. But I found it was a lot more convenient to just prompt Claude Code to create the folder structure required, and start with a prompt like this.
Create a .claude directory. The directory must contain agents and skills that will support the creation of enterprise scale applications. The agents and skills must always keep in mind strict security requirements, adherence to international data protection legislation such as GDPR, CCPA, PIPEDA, and other applicable legislation. Assume that security issues and downtime with the resulting application could result in loss of revenue, regulatory action, or legal liability.You may need to tinker a bit with the resulting agents and skills but it will get you going out of the gate.
The new creation process
As mentioned above, my projects now start with me setting up my crew and giving them a shared “docs” folder to keep their notes. Each agent has its own file to track its work, and they all chip in on a shared context.md file, which is basically our team’s daily stand-up report.
My go-to roster of agents usually includes:
- An Architecture Agent to think about the big picture.
- A Front-end Dev Agent for the UI.
- A .NET Agent for the back-end stuff.
- A Security Agent to keep things locked down.
- A UI Design Agent to make it look good.
- Test Writer & Runner Agents to make sure things actually work.
As far as the skills that I have implemented, my go-tos have been for commits and security checks. But my absolute favorite is my “orchestrate” skill, where I can just line up the agents I need, give them a goal, and watch them go to work as a team.
My New Game Plan
Here’s what my project kick-off looks like now:
- Figuring out what I want: I start by chatting with my Requirements Agent. It’s like a brainstorming session where it helps me flesh out my ideas and even suggests new features I hadn’t thought of.
- Drawing the blueprints: The Architecture Agent steps in next to make sure the app will be scalable, secure, and built on a solid foundation.
- Planning the UI and Data: The UI Agent and Database Agent then work together to plan out the user experience and how the data will be stored.
- Designing the API: The API Designer takes the data model and writes up the specs for the API.
- Building the Backend: My .NET Agent grabs the API specs and starts building out the backend.
- One small step at a time: From there, I build out the rest of the app one small feature at a time. This keeps things manageable and lets me test as I go.
So, What Did I Build?
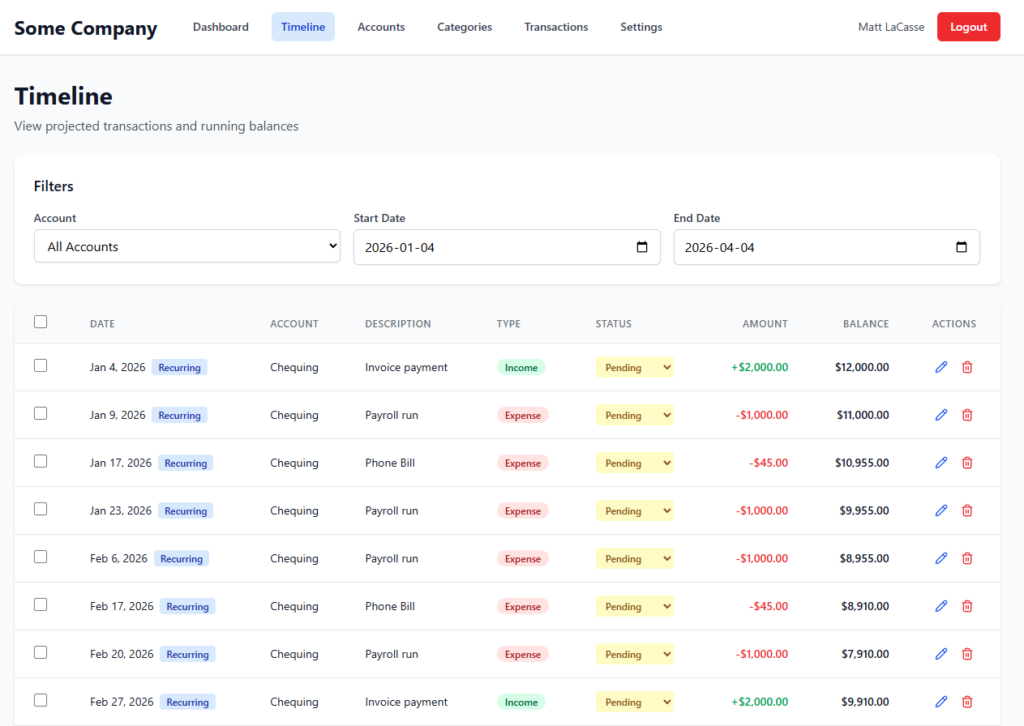
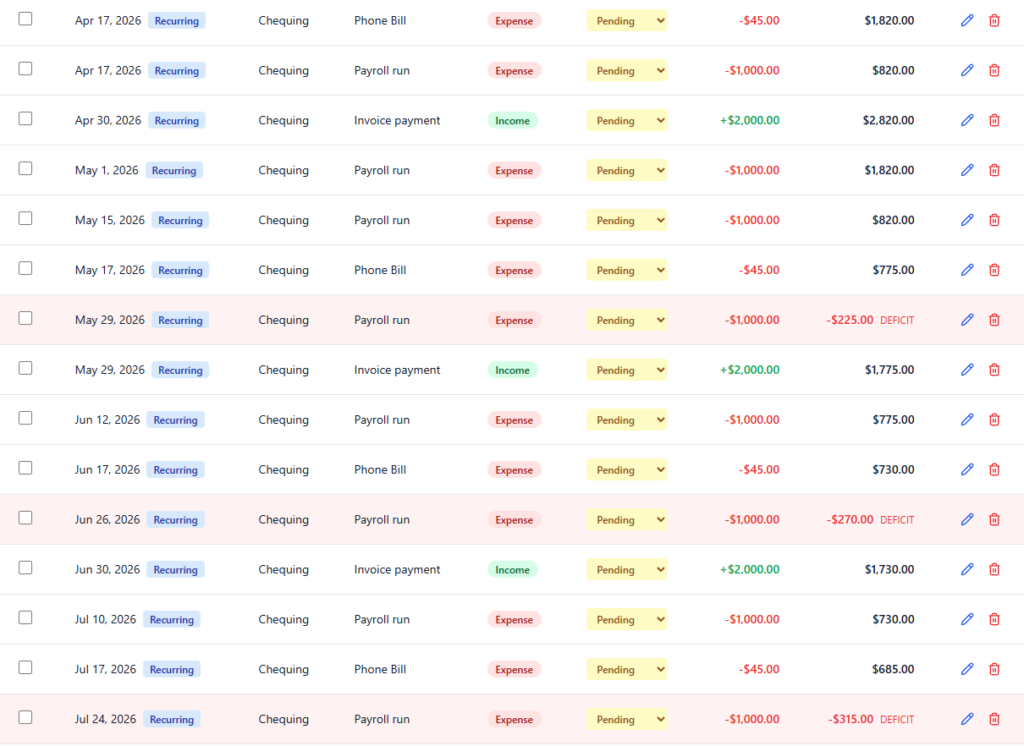
I used this exact setup to start building an e-learning app for the Power Platform community. It’s a pretty hefty project with user accounts, course catalogs, progress tracking, and admin panels. Because I live in Canada, I had to make sure it complied with GDPR, CCPA, and PIPEDA. I told my agents this from the very beginning, and they factored it into everything they built, including a detailed audit log.
The Good, The Bad, and The Human
The results have been awesome. My Security Agent has been a lifesaver, catching issues with how I was storing JWTs and suggesting things like rate limiting to prevent attacks.
But it’s not all magic, and you definitely still need a human in the driver’s seat. One of those moments was when the agent implemented IP-based API rate limiting. I realized that if 20 people from the same office were using the app, they’d all get locked out. It was a classic case of the AI being logical but lacking real-world context. It’s a great reminder that these tools are here to help you, not replace you.
The Biggest Change for Me
Honestly, the biggest shift has been in my own mindset. I’ve gone from being a hands-on coder to more of a manager. I delegate tasks to my AI team, review their work, and provide course corrections along the way. It’s like being the conductor of an orchestra instead of playing every instrument yourself. It’s freed me up to focus on the more creative, high-level parts of building software.
My first week with Claude Code showed me that the real power isn’t just in the AI itself, but in how you organize it. By building a team of agents, I’ve created a development process that’s not just faster, but smarter and more robust.